
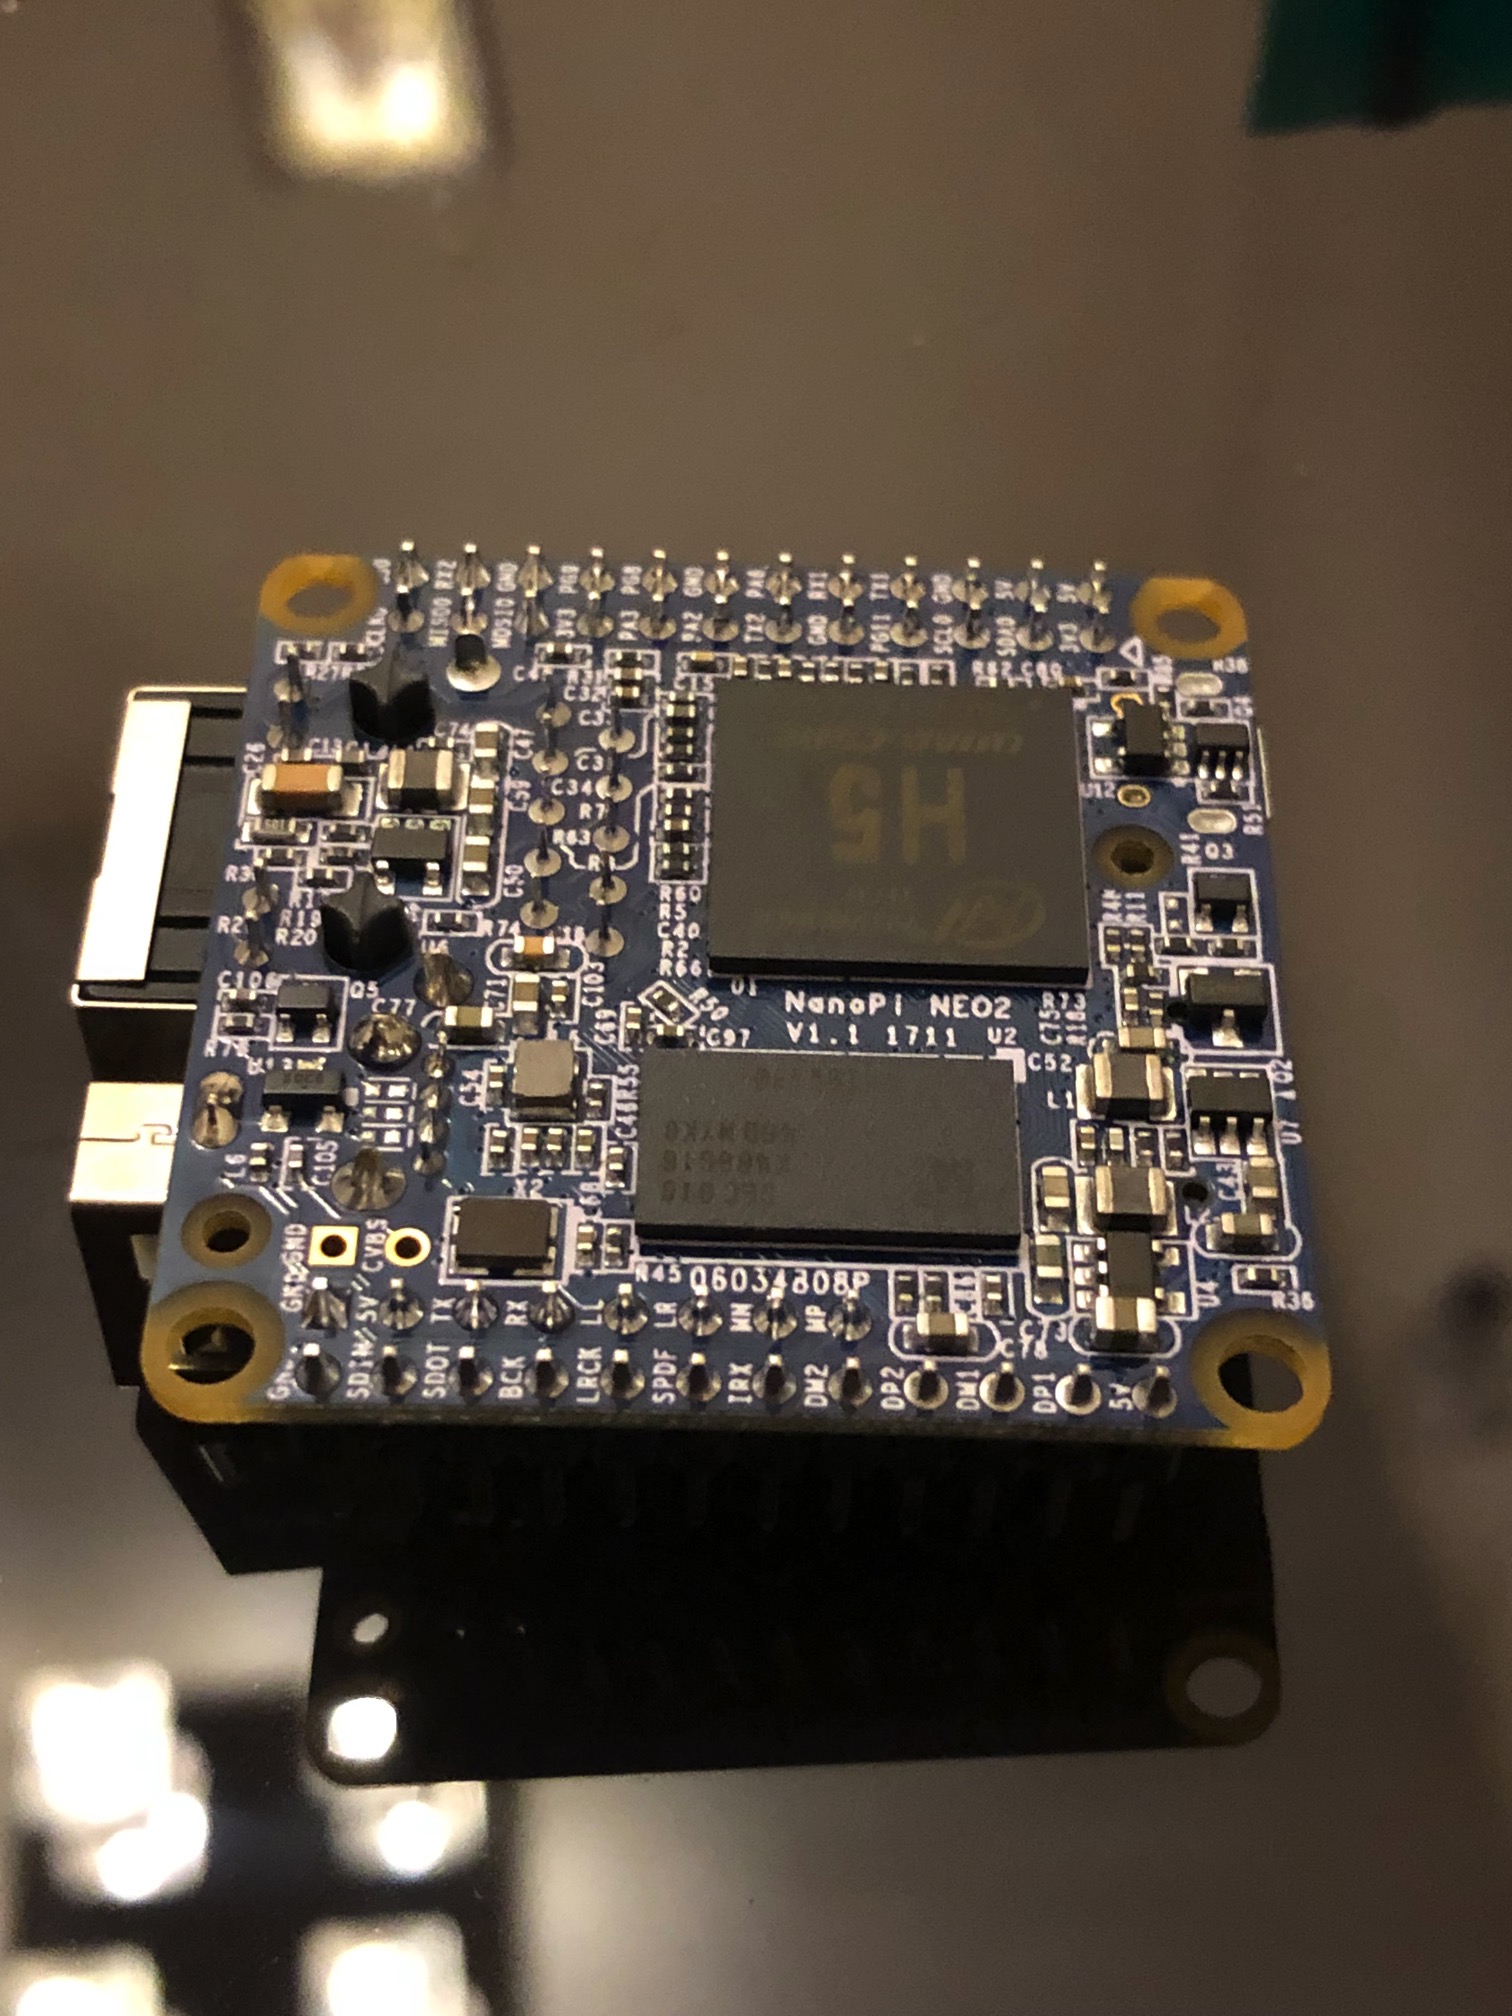
I have just received new ARM computer – NanoPi Neo2 (by FriendlyARM), noticed that it has a Gigabit Ethernet port!
My “old” Raspberry Pi 3 Model B+ has “only” 300Mbit ethernet because it is “over USB2.0” which is really a shame!
-

- Nano Pi Neo 2 internal H5 cpu
-
- Nano Pi Neo 2 internal

-

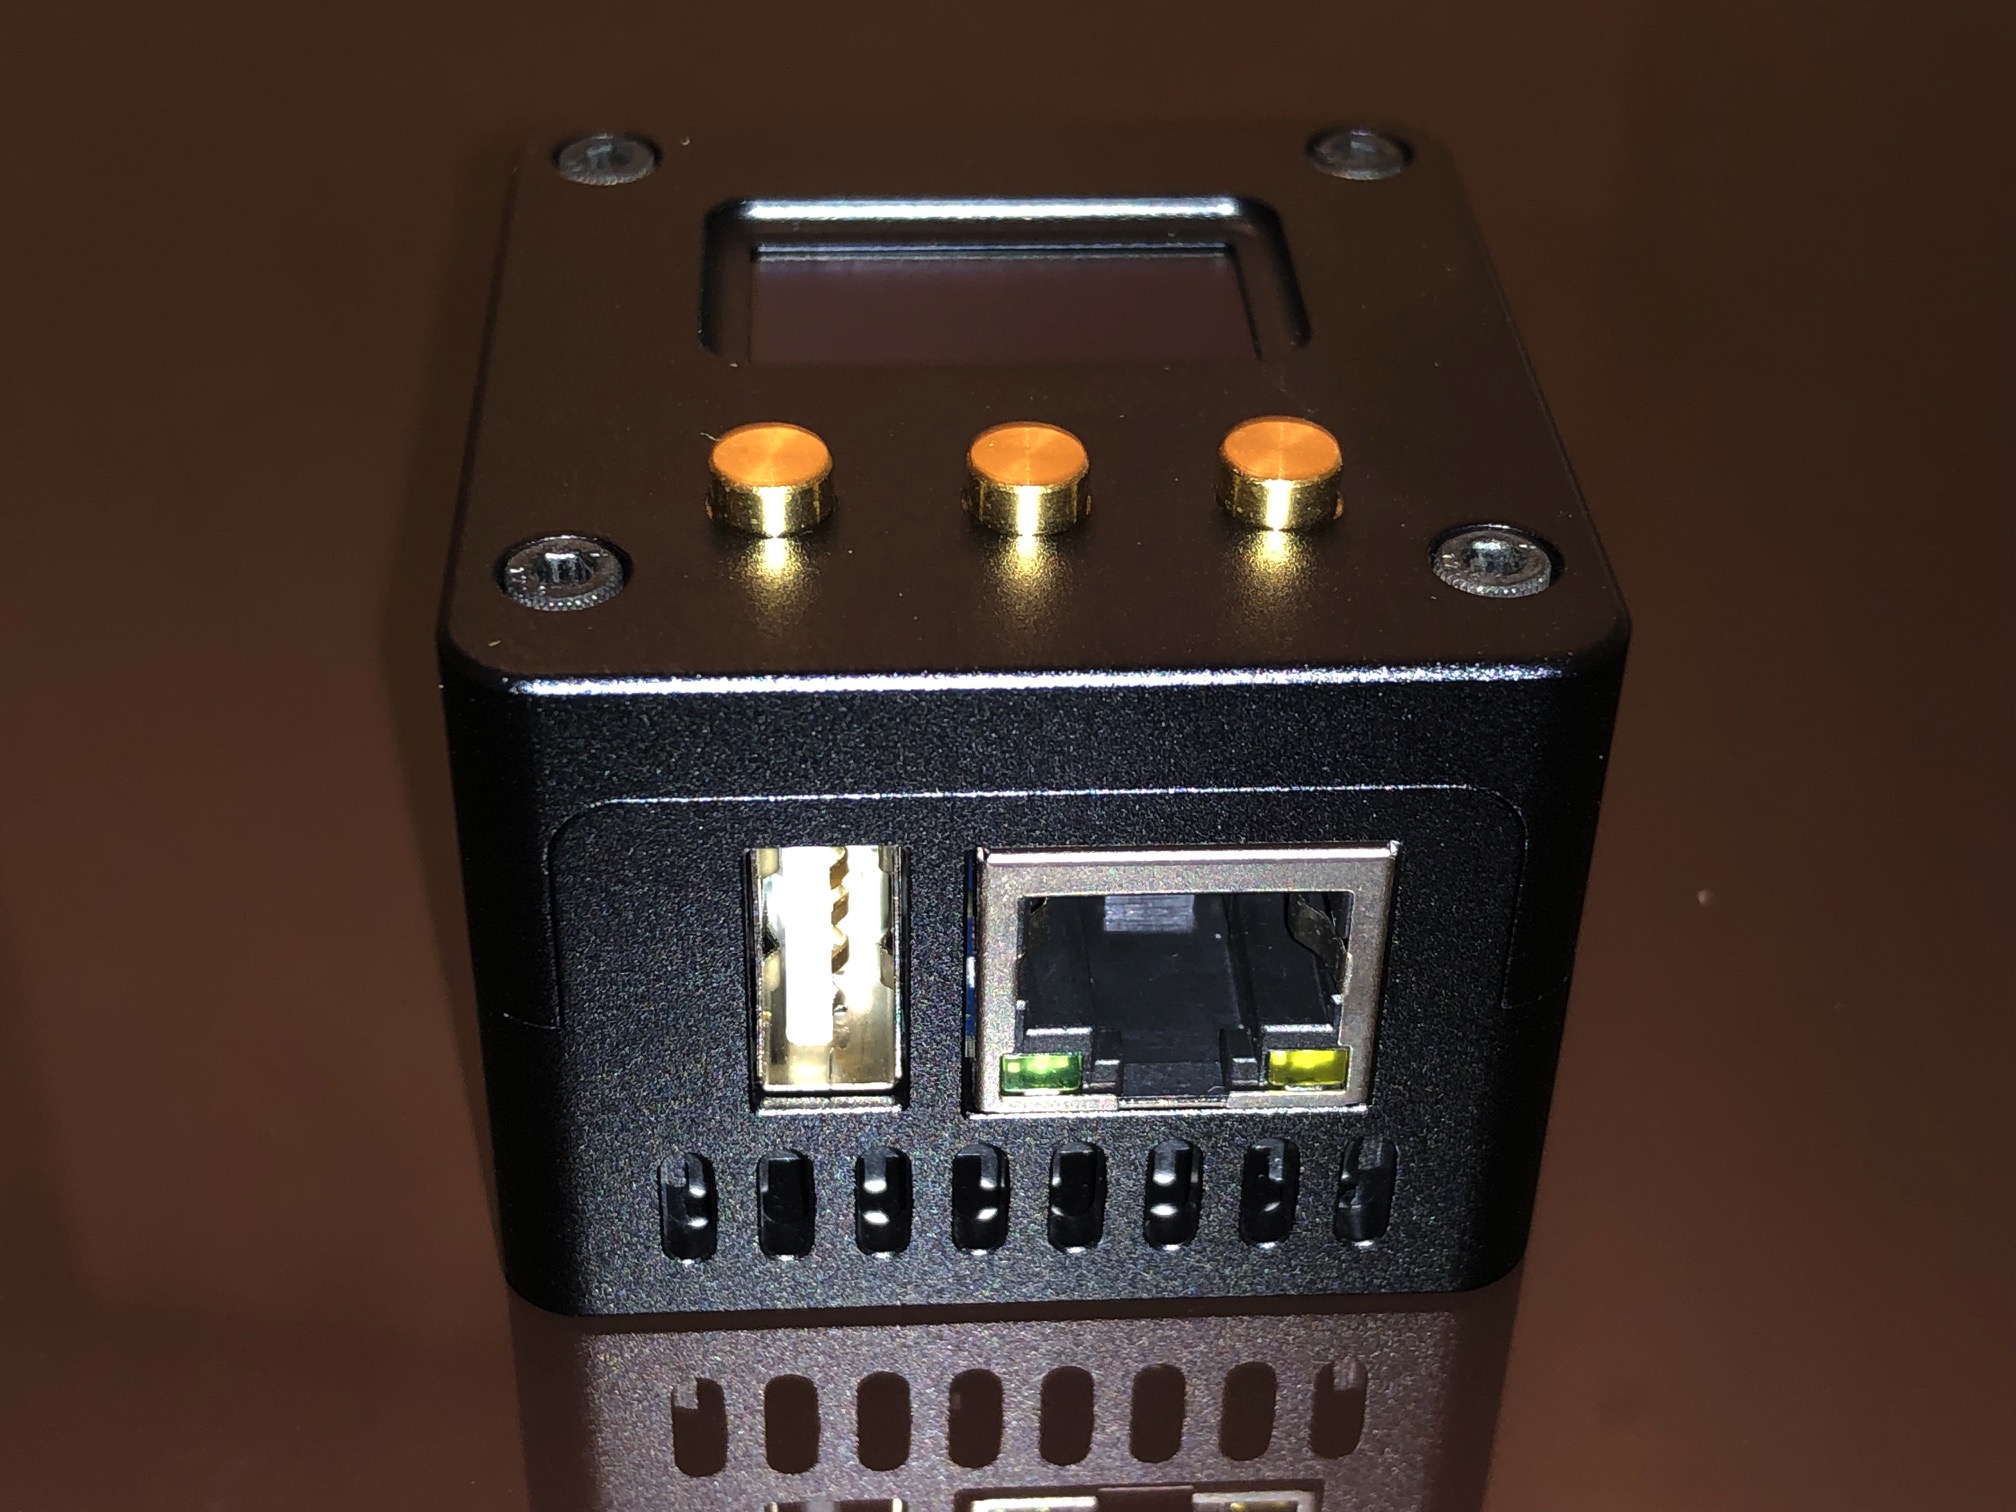
- Nano Pi Neo 2 Ports USB Gigabit Ethernet
-

- Nano Pi Neo 2 Case

-

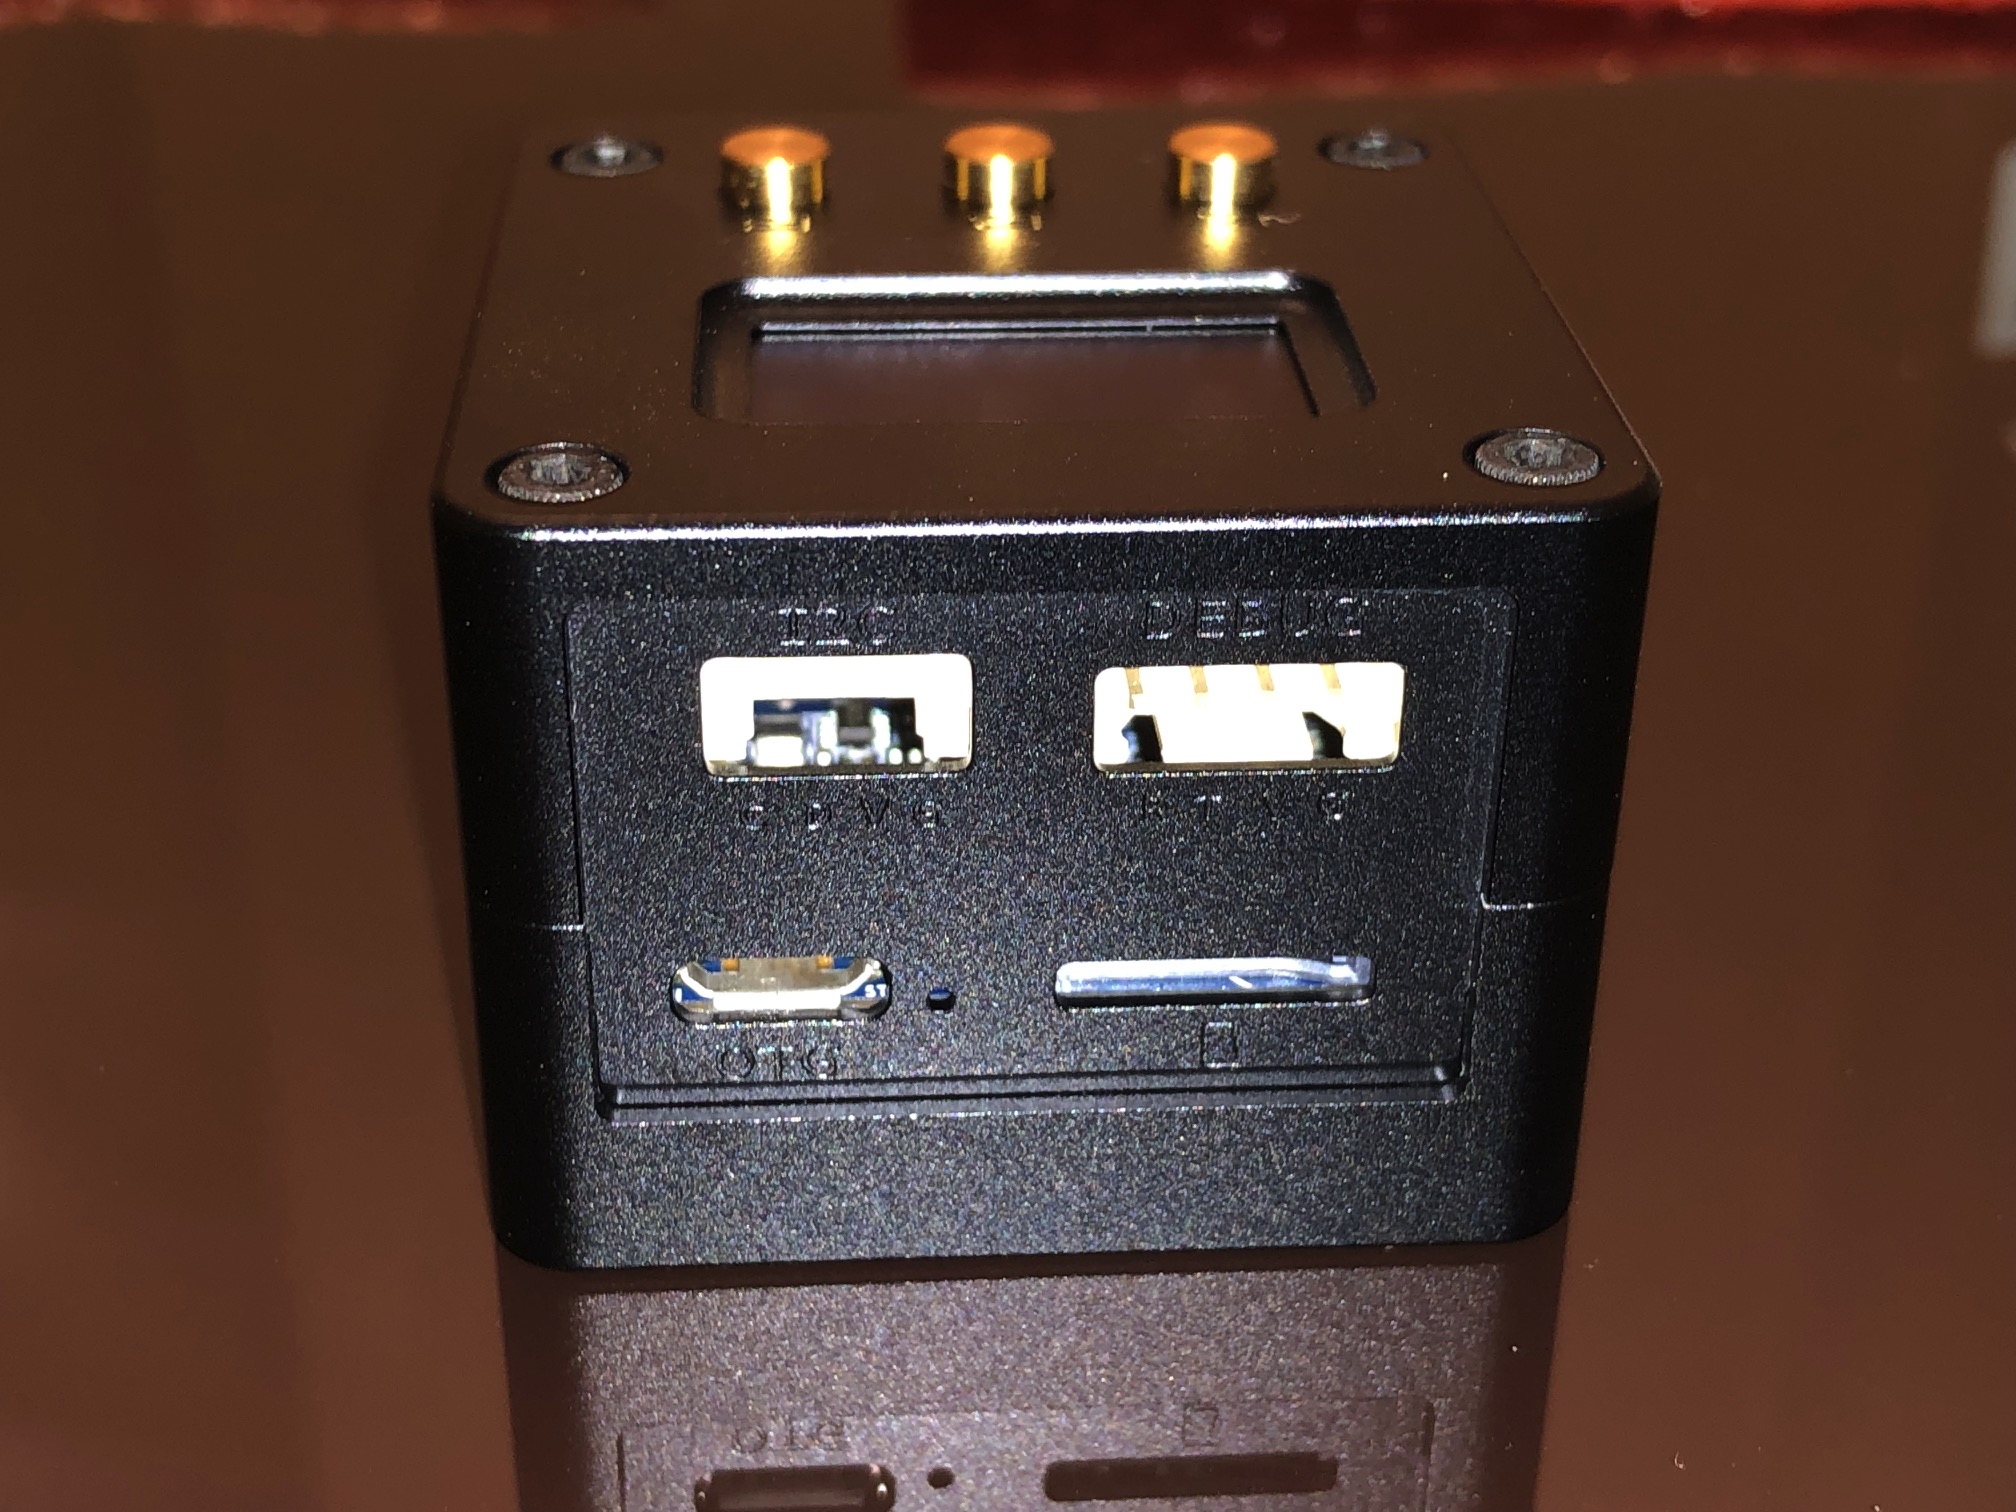
- Nano Pi Neo 2 Ports GPIO microsd power
-
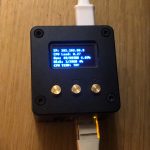
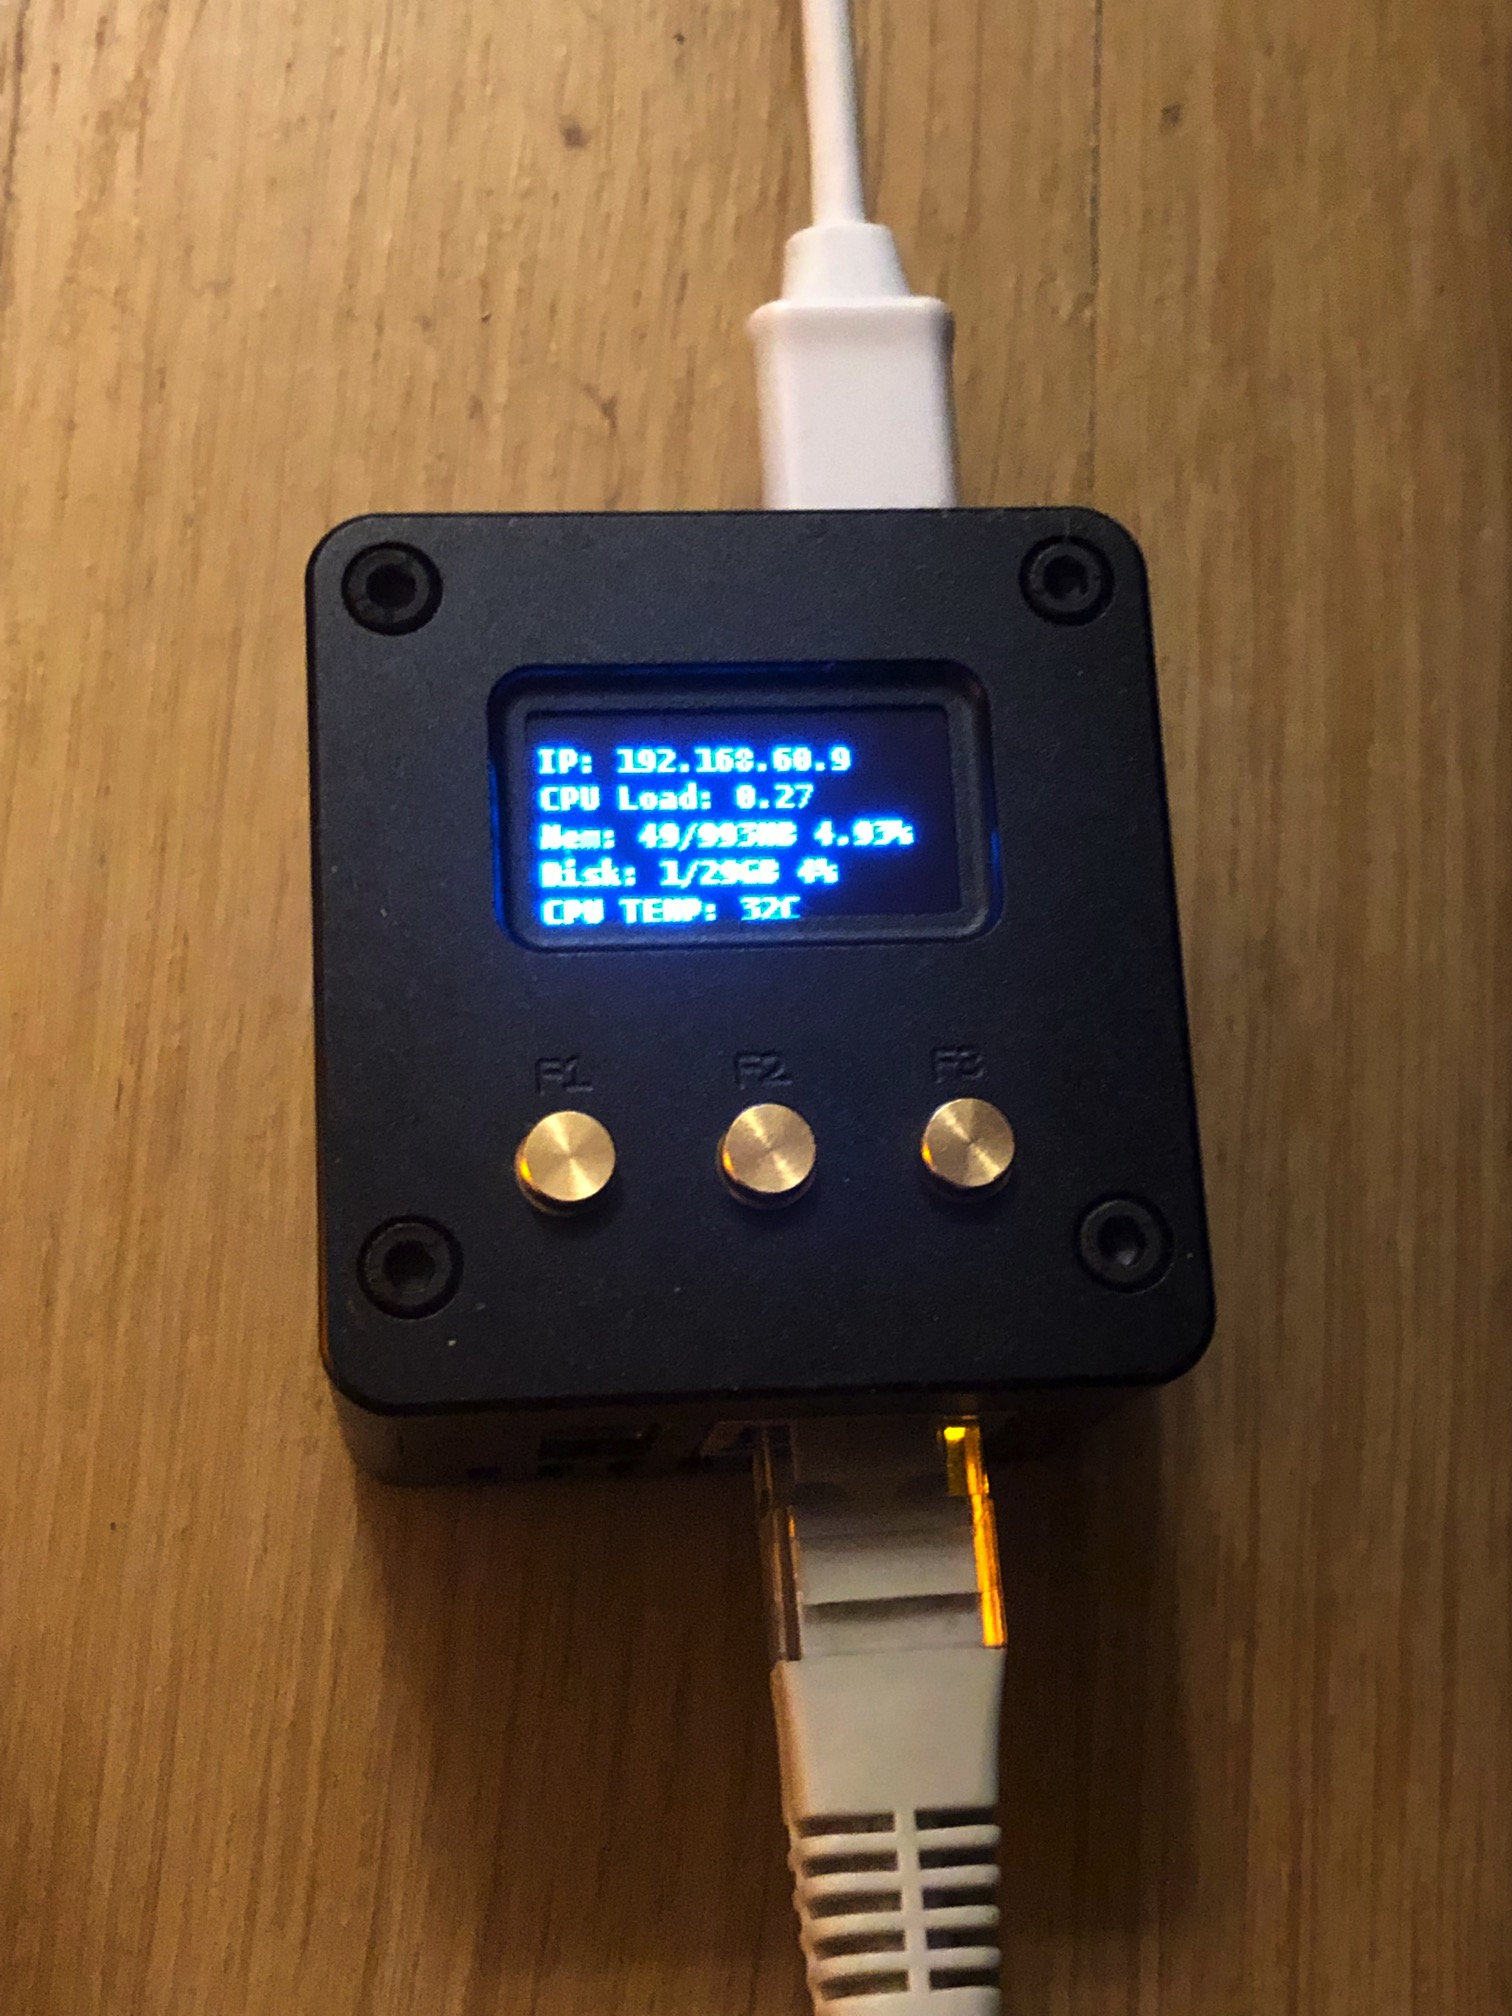
- Nano Pi Neo 2 OLED case
-
- Nano Pi Neo 2 OLED case
-

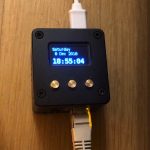
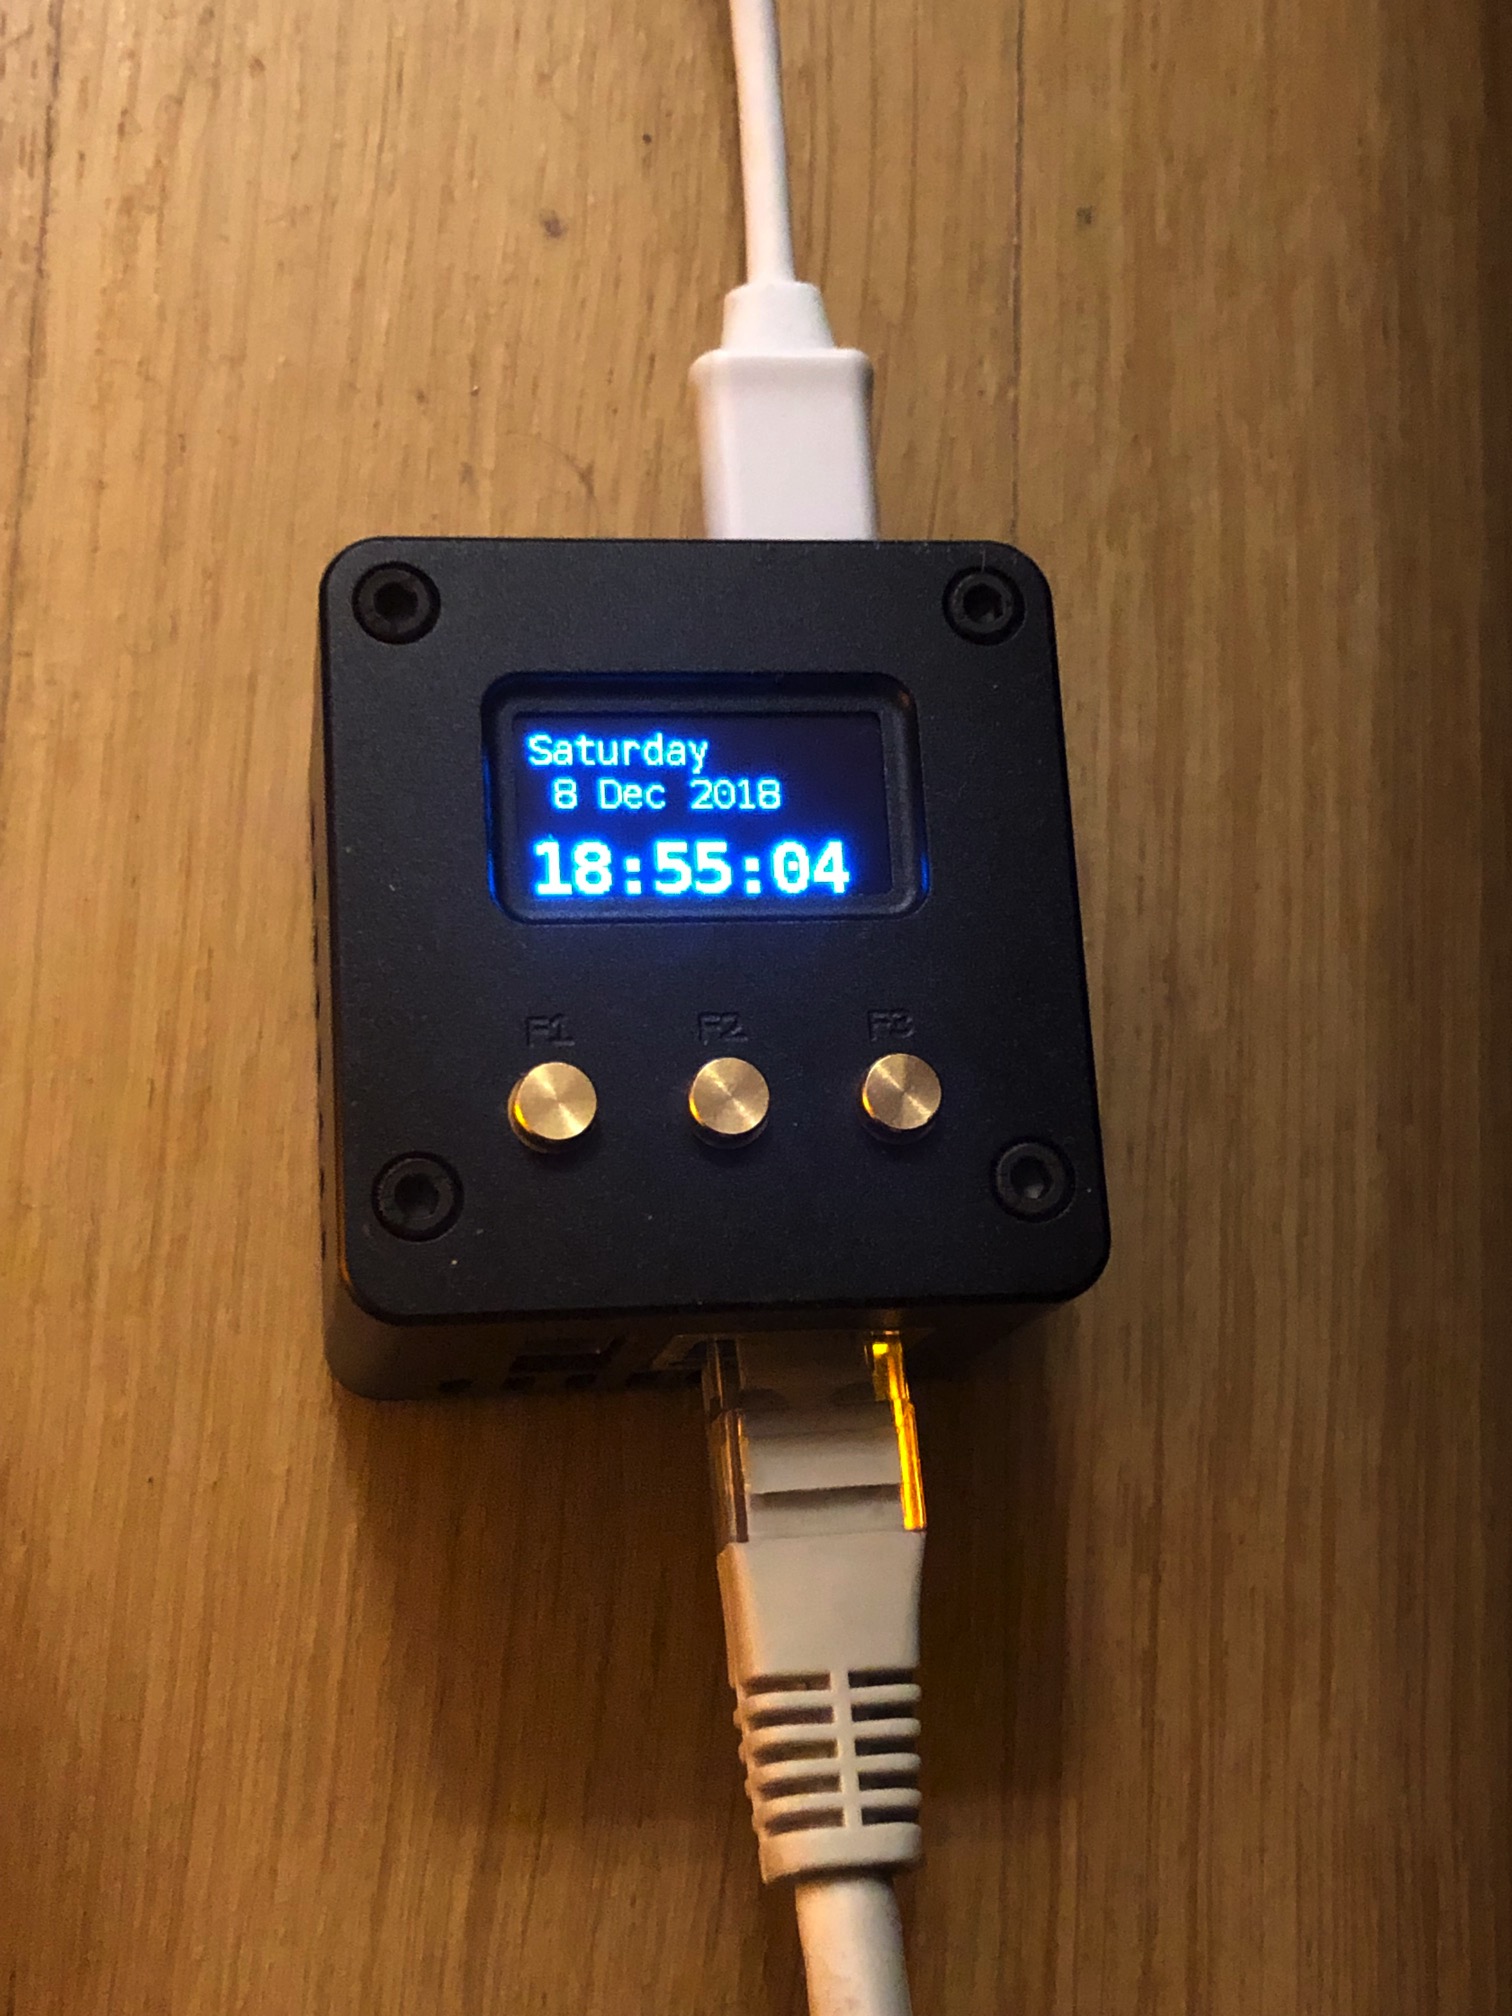
- Nano Pi Neo 2 Case OLED date time
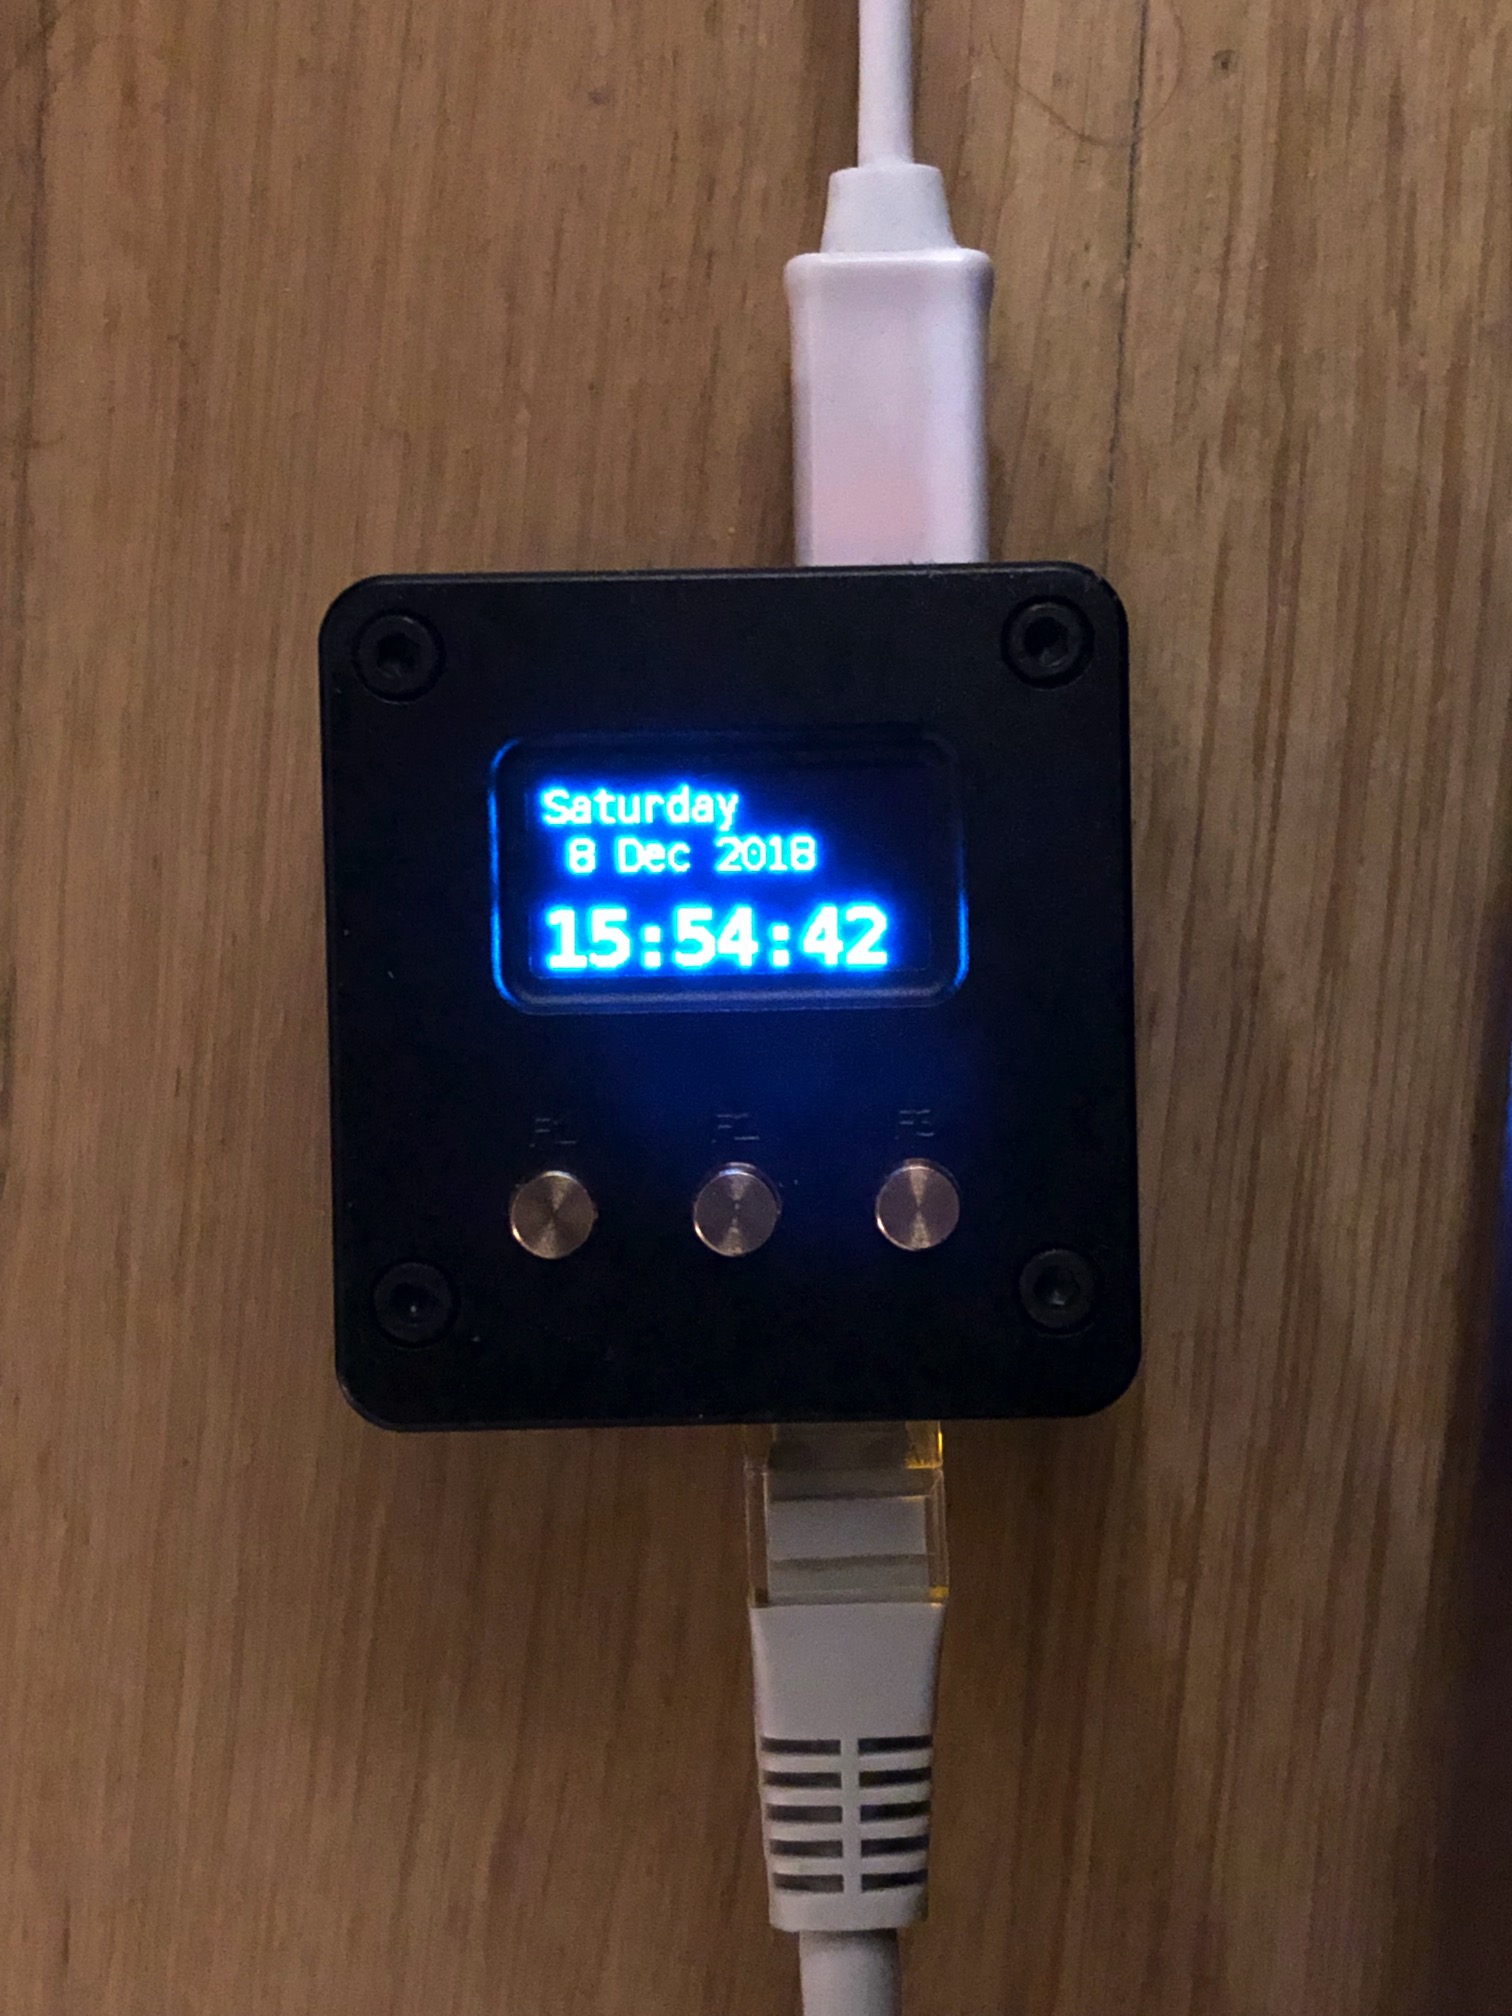
Another good thing is that NanoPi Neo2 arrived with fantastic Aluminium case with OLED display & passive heatsink!
With so nice OLED display, and Gigabit Ethernet it is ideal for AD BLOCKING device using fantastic open source project pi.hole.
What is idea? Each time when ads try to load, they load from some domain, pi.hole maintains list of advertisement (and malware) domains and block them for all devices in your network that use you pi.hole DNS device.

Pi Hole statistics
So after installation in order to enjoy ad free internet, you must manually change ip to your pi.hole server, or assign that as DNS using DHCP parameters on your router.
Let the fun begin / start the tutorial!
I have used 32GB microSD card and installed image first from the link in printed tutorial (but it was problematic image) so better get this one: nanopi-neo2_sd_ubuntu-oled-xenial_4.14_arm64_20181011.img.zip from this link. (Choose Google > Official ROMs > Accessory ROMs)
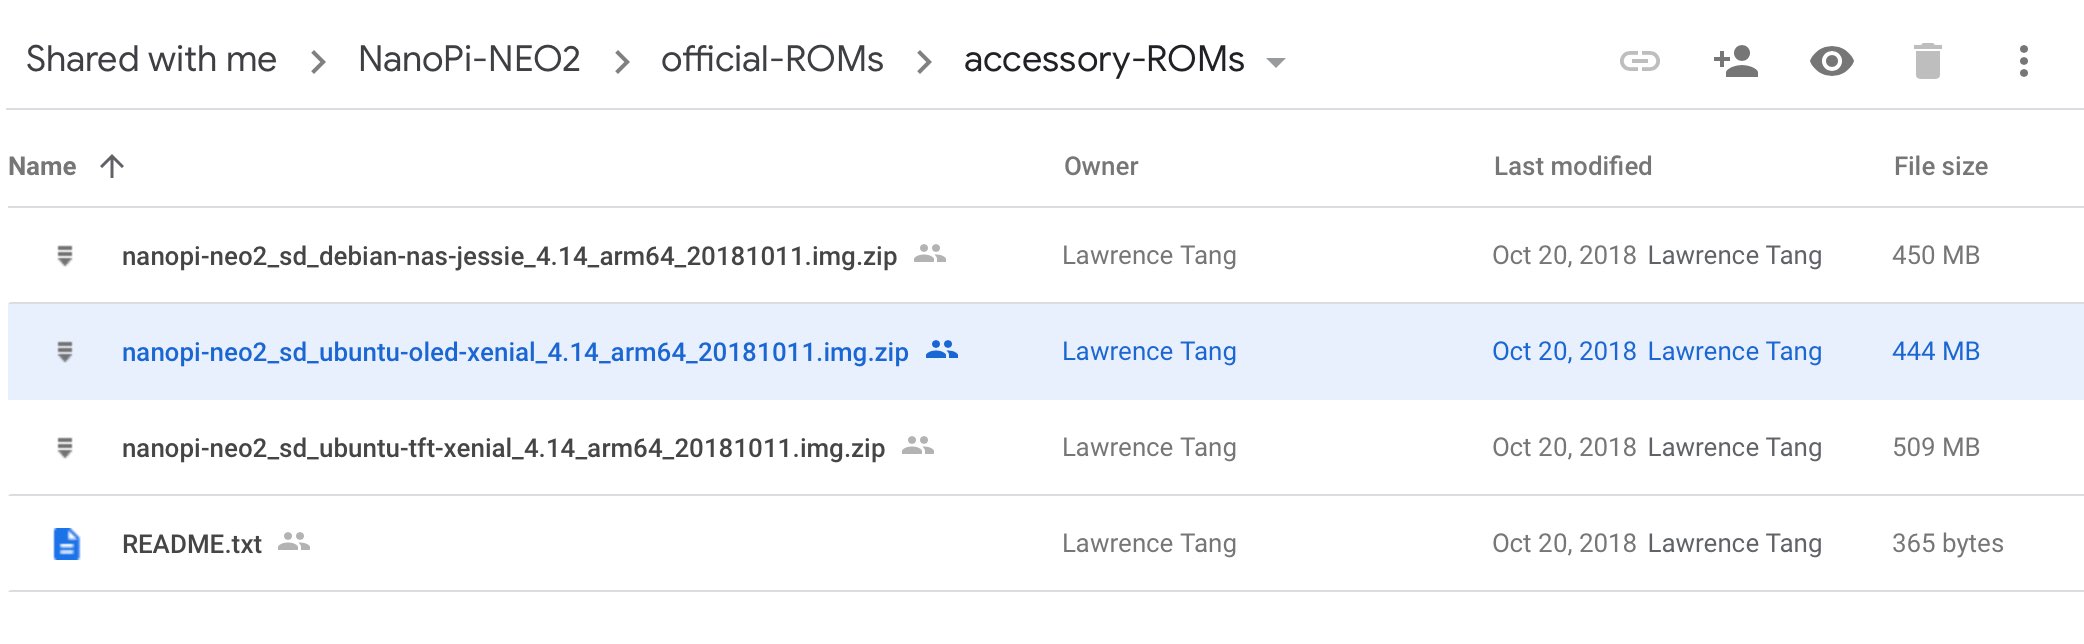
NanoPi-Neo2-OLED-image
If you have windows you can find utility to dump an image to microsd card using win32diskimager or if you have Mac use fantastic Apple Pi Baker. It can even restore img.zip so you do not have to unpack image before burning to microSD card.
Assemble alu case and display, here is the nice video. Insert microSD card, connect micro USB power supply and lets boot it!
After booting (read IP from display, or fix IP on your router so that NeoPi2 always have the same IP).
login as user: root, password: fa
On OLED display it will show the IP address that was received from your DHCP (router).
Access it using terminal (ssh):
ssh root@YOUR_IP
Update system and read basic info:
apt-get update

apt-get upgrade

#make a coffee

root@NanoPi-NEO2:~# cpu_freq

INFO: HARDWARE=Allwinnersun50iw2Family

CPU0 online=1 temp=33431 governor=ondemand cur_freq=816000

CPU1 online=1 temp=33431 governor=ondemand cur_freq=624000

CPU2 online=1 temp=33431 governor=ondemand cur_freq=624000

CPU3 online=1 temp=33431 governor=ondemand cur_freq=624000
#shows CPU temperature around 33C
change default password for root user and pi user:
#change root password with
passwd
#change pi user password with
root@NanoPi-NEO2:~# su - pi
To run a command as administrator (user "root"), use "sudo
See "man sudo_root" for details.
pi@NanoPi-NEO2:~$ passwd
(current) UNIX password: pi
#then enter desired new password for this user
#to return to root user type
exit
Now we are ready to try that Gigabit Ethernet…
Lets install cli speedtest:
#Test internet speed

easy_install speedtest-cli

speedtest-cli

#to find servers near you

speedtest-cli —list | more

root@NanoPi-NEO2:~# speedtest-cli --server SERVER_ID

Retrieving speedtest.net configuration...

Testing from YOUR_ISP (YOUR_IP)…

Retrieving speedtest.net server list...

Retrieving information for the selected server...

Hosted by YOUR_ISP (YOUR_CITY) [0.52 km]: 13.811 ms

Testing download speed................................................................................

Download: 644.88 Mbit/s

Testing upload speed................................................................................................

Upload: 662.78 Mbit/s
Not bad at all ;) Compare to the Raspberry Pi 3 Model B+ with shameless DL 78 Mbit/s UL 92 Mbit/s
Now it is time to trash Raspberry and install pi.hole on new Neo Pi2!
#Change directory

cd /root

#Clone pi-hole project

git clone --depth 1 https://github.com/pi-hole/pi-hole.git pi-hole

#Start installation script

sudo bash pi-hole/automated\ install/basic-install.sh
You can just accept/hit return on all the questions (or change default value if you find it necessary, use TAB, Arrows and Return to navigate)
Successful installation should notify you with “Installation Complete! ”
If you didn’t see that, or installation stopped without explanation try to edit file and comment single line containing “set -e” by adding “#” at the begining of the line
sudo nano pi-hole/automated\ install/basic-install.sh

#
That will enable you to see exact error, and correct something if necessary.
Now, change web login password with:
pihole -a -p
and access view the web interface at http://pi.hole/admin (if you are using that ip as DNS) or http://YOUR_IP/admin
Next step is to change DNS settings on your device (e.g. on iphone go to settings, wifi, tap “i” beside your wifi, configure DNS, choose “manual” and type IP of your NEO2 with pi.hole installed). Try to open some website, if it is stuck (FQDN – domain is not resolving) probably new DNS is not working.
If web page loads, lets check if the ads are blocked, you can find good test page here.
Troubleshooting
To check what services are listening (you are looking for DNS on port 53 and WEB server on port 80) type:
root@NanoPi-NEO2:~# netstat -plunt
to check the status of pi.hole service:
root@NanoPi-NEO2:~# pihole status

  [✗] DNS service is NOT running

#Check DNS with:

sudo systemctl status dnsmasq

apt-get install net-tools

systemctl start dnsmasq

pihole enable

pihole status
If DNSmasq is not loading on reboot, try following command
#fix load on reboot

update-rc.d dnsmasq defaults
or make new file that will start dnsmasq after loading interfaces:
#make new file with

nano /etc/network/if-up.d/dnsmasq
File content with # at the begining – it is a shell script
#!/bin/sh

[ "$IFACE" != "lo" ] || exit 0

#/usr/sbin/invoke-rc.d dnsmasq restart

#systemctl start dnsmasq

systemctl start pihole-FTL

pihole-FTL
Make it executable:
chmod a+x /etc/network/if-up.d/dnsmasq
reboot using:
reboot -h now
and check again if dnsmasq is autoloaded with:
sudo systemctl status dnsmasq
try accessing it via IP : http://YOUR_IP/admin
If it fails, lets check:
#check if web admin interface is working at:

#View the web interface at http://pi.hole/admin or http://YOUT_IP/admin

root@NanoPi-NEO2:~# sudo systemctl status lighttpd

● lighttpd.service - Lighttpd Daemon

   Loaded: loaded (/lib/systemd/system/lighttpd.service; enabled; vendor preset: enabled)

   Active: failed (Result: exit-code) since Sat 2018-12-08 20:35:55 UTC; 21min ago

 Main PID: 635 (code=exited, status=255)
root@NanoPi-NEO2:~# tail /var/log/lighttpd/error.log
If this is PHP on Gentoo, add 'fastcgi' to the USE flags.
2018-12-08 20:32:33: (mod_fastcgi.c.1406) [ERROR]: spawning fcgi failed.
2018-12-08 20:32:33: (server.c.1022) Configuration of plugins failed. Going down.
2018-12-08 20:35:55: (log.c.164) server started
2018-12-08 20:35:55: (mod_fastcgi.c.1112) the fastcgi-backend /usr/bin/php-cgi failed to start:
2018-12-08 20:35:55: (mod_fastcgi.c.1116) child exited with status 2 /usr/bin/php-cgi
2018-12-08 20:35:55: (mod_fastcgi.c.1119) If you're trying to run your app as a FastCGI backend, make sure you're using the FastCGI-enabled version.
If this is PHP on Gentoo, add 'fastcgi' to the USE flags.
2018-12-08 20:35:55: (mod_fastcgi.c.1406) [ERROR]: spawning fcgi failed.
2018-12-08 20:35:55: (server.c.1022) Configuration of plugins failed. Going down.
root@NanoPi-NEO2:~# sudo lighttpd-enable-mod fastcgi fastcgi-php
already enabled
already enabled
Run /etc/init.d/lighttpd force-reload to enable changes
How to Backup and restore pi.hole database?
#Backup database and restore

#while pi.hole is running

sqlite3 /etc/pihole/pihole-FTL.db ".backup /home/pi/pihole-FTL.db.backup"

#transfer from old to new system

pi@raspberrypi:~ $ scp /home/pi/pihole-FTL.db.backup [email protected]:/home/pi/pihole-FTL.db.backup

#on new system

root@NanoPi-NEO2:~# pihole disable

root@NanoPi-NEO2:~# mv /etc/pihole/pihole-FTL.db /etc/pihole/pihole-FTL.OLDdb

root@NanoPi-NEO2:~# cp /home/pi/pihole-FTL.db.backup /etc/pihole/pihole-FTL.db

root@NanoPi-NEO2:~# pihole enable
You can read more about pi.hole database format here
Usefull information about NanoPi Neo2 NanoPi2 Wiki and here you can find info about NanoHat OLED module
Whitelist and Blacklist
So if you expereince problems loading some pages, you can add them to whitelist using web admin interface or shell command:
pihole -w domainname
tips if you are a Spotify user or e.g. accessing google analytics, add these domains to your whitelist:
analytics.google.com

mobile-ap.spotify.com

apresolve.spotify.com

upgrade.scdn.co

market.spotify.com

spclient-wg.spotify.com
Enjoy your ad free internet!
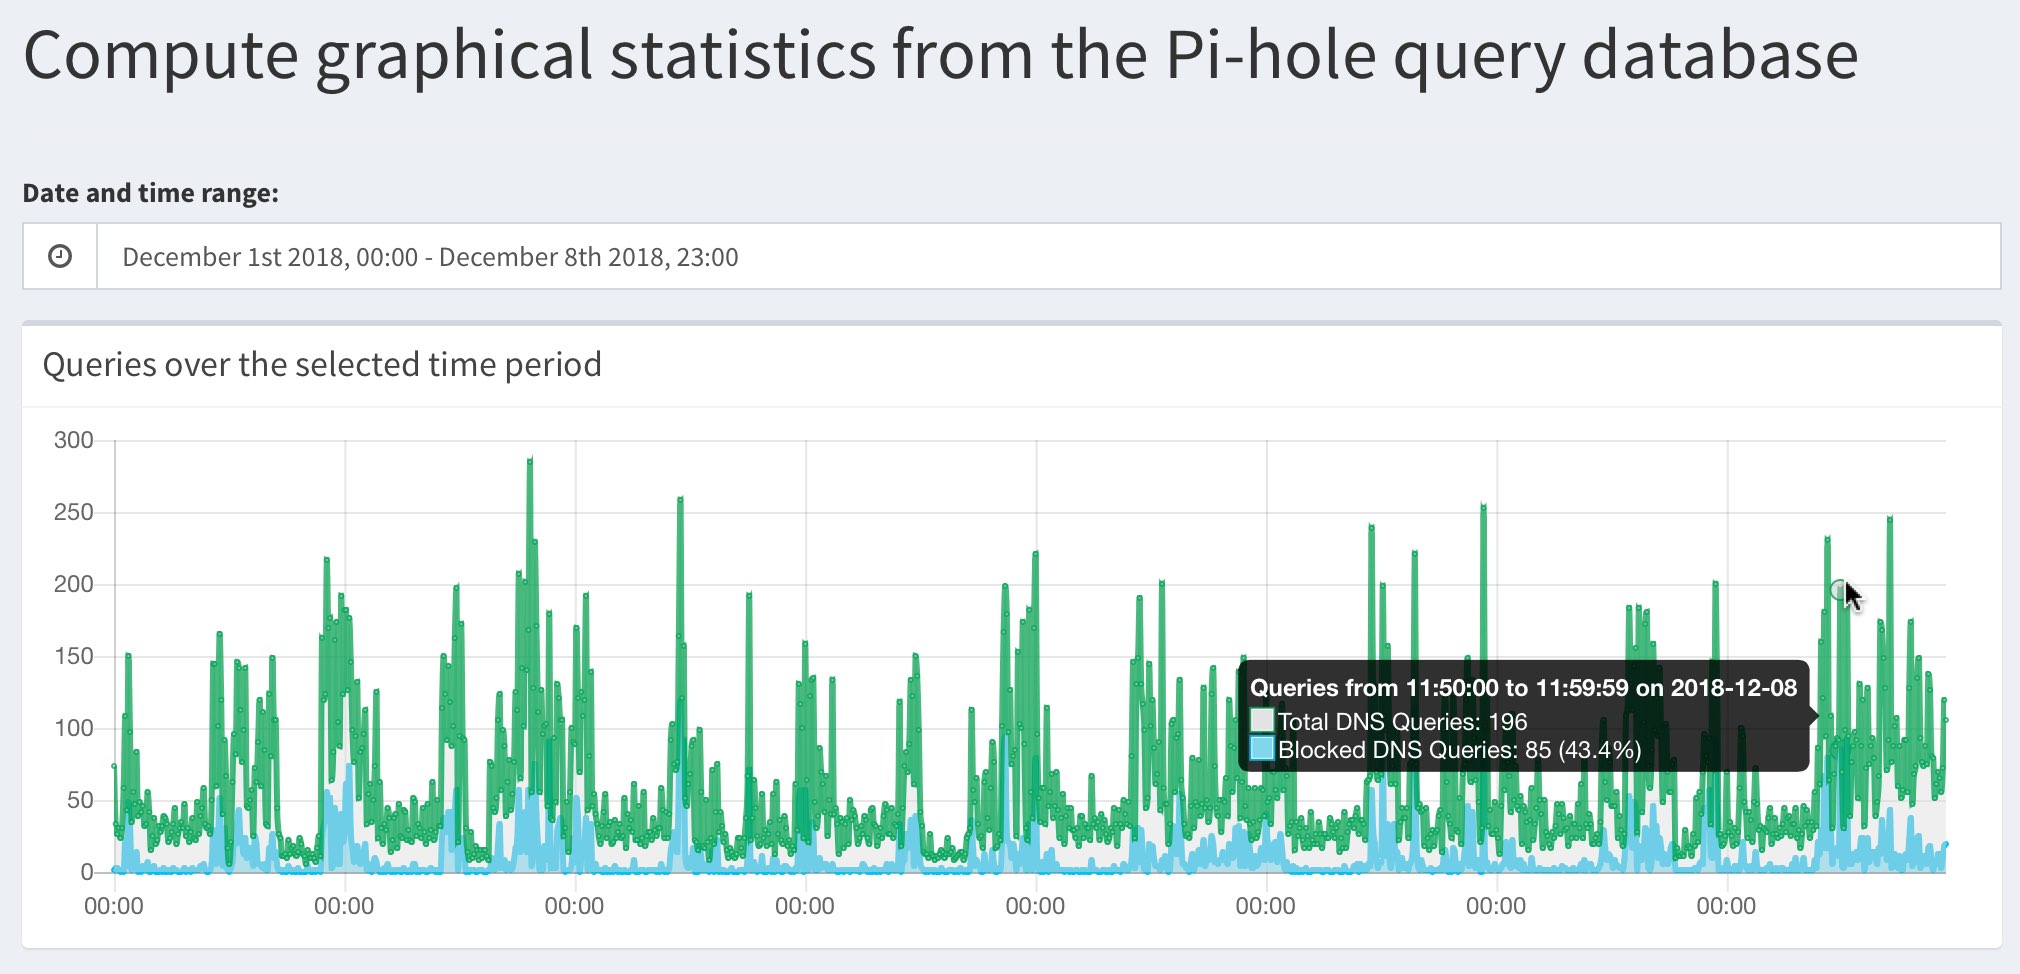
Pi Hole queries over time graph
| Scan to read |
 |


Ran into the same startup issue. From the logs my eth0 device was not ready before the pihole service started. I resolved this by replacing the init startup script with a systemd style and remove the dnsmasq.
sudo apt remove dnsmasq
#remove init style startup
sudo systemctl disable pihole-FTL.service
#add new startup config
#modified from https://raw.githubusercontent.com/pi-hole/pi-hole/FTLDNS-systemd/advanced/pihole-FTL.systemd
sudo vim /lib/systemd/system/pihole-FTL.service
****Config start ****
[Unit]
Description=Pi-hole FTLDNS
After=network-online.target
Wants=nss-lookup.target
Before=nss-lookup.target
[Service]
Restart=on-abnormal
User=pihole
Group=pihole
PermissionsStartOnly=true
Type=forking
PIDFile=/run/pihole-FTL.pid
ExecStartPre=/bin/touch /var/log/pihole-FTL.log /run/pihole-FTL.pid /run/pihole-FTL.port /var/log/pihole.log /etc/pihole/dhcp.leases
ExecStartPre=/bin/mkdir -p /var/run/pihole /var/log/pihole
ExecStartPre=/bin/chown pihole:pihole /var/run/pihole /var/log/pihole
ExecStartPre=/bin/rm -f /var/run/pihole/FTL.sock
ExecStartPre=/bin/rm -f /dev/shm/FTL-*
ExecStartPre=/bin/chown pihole:pihole /var/log/pihole-FTL.log /run/pihole-FTL.pid /run/pihole-FTL.port /etc/pihole /etc/pihole/dhcp.leases /var/log/pihole.log
ExecStartPre=/bin/chmod 0644 /var/log/pihole-FTL.log /run/pihole-FTL.pid /run/pihole-FTL.port /var/log/pihole.log
ExecStartPre=/bin/echo “nameserver 127.0.0.1” | /sbin/resolvconf -a lo.piholeFTL
ExecStart=/usr/bin/pihole-FTL
RestartSec=30s
ExecReload=/bin/kill -HUP $MAINPID
TimeoutStopSec=10s
ProtectSystem=full
ReadWriteDirectories=/etc/pihole
[Install]
WantedBy=multi-user.target
***Config end***
sudo systemctl daemon-reload
#enable for startup
sudo systemctl enable pihole-FTL.service
sudo systemctl start pihole-FTL.service
#reboot to make sure startup is fixed